
Once you’ve followed our steps for organizing a kitchen for moving, the next step is to learn how to pack one like a pro. With all the fragile and heavy items in a kitchen, it’s easiest to leave packing one to professionals, but here’s how to pack a kitchen yourself and minimize the chance of breaking your appliances and glassware.
Invest in Quality Packing Materials
Weleski Transfer can provide the professional-grade packing materials you need to pack a kitchen and minimize damage to your kitchen goods, like cardboard dividers, packing paper to fill in gaps, and heavy duty boxes that can handle appliances and stacks of dishes.If you’re using your own boxes, make sure they’re sturdy enough to handle heavy loads, get more boxes than you think you’ll need, and don’t skip out on padding. You can even use bath and dish towels in a pinch, and plastic wrap to keep stacked items from shifting in their boxes. You may also want to invest in color-coded labels so you can easily identify the boxes that are meant to go in your kitchen, and where they’re supposed to be stored.
Identify Your Essentials
If you’ll be making meals up until moving day, or if there’s anything you’ll need to unpack and use right away, set it aside to pack last. Leave out enough dishes and utensils for you and your family, your most-used pots and pans, and appliances you use every day like your microwave or coffee maker. When you pack these everyday essential items, be sure to label them accordingly so they won’t have to go hunting for them later.Sort Items by Type
Instead of packing place by place in your kitchen, from the pantry to the drawers and cabinets, gather items of the same type from different locations around the kitchen into stacks or piles. Sort dry goods, utensils, pots and pans, glassware, and other categories into the same pile. This will help you remember which items are in which boxes, and will help you identify any duplicates or other things you won’t need in your new kitchen. It will also help you decide where you want things to be put away in your new kitchen if you can easily see how many pans you have, or how many glasses and dishes.Start Packing
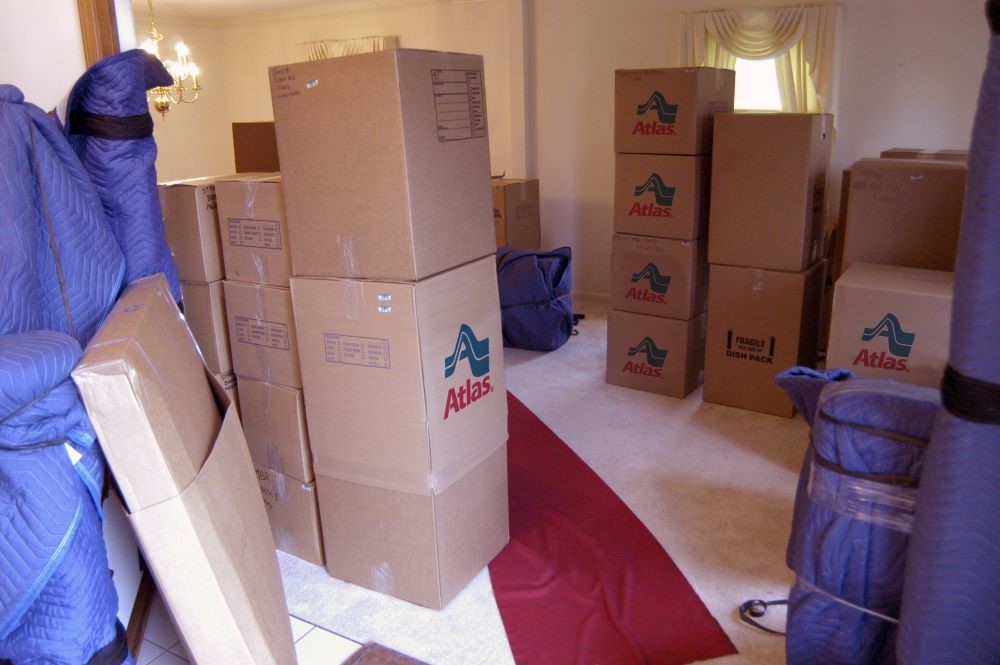
Prepare your boxes, tape, and paper, and set up a packing station on a kitchen table or the floor. Prepare each box by filling it with crumpled packing paper. Here’s the best way to pack common kitchen items:Appliances
Appliances should be packed in their original boxes whenever possible. If you no longer have the original, pack them in as small a box as you can to ensure a tight fit, and fill in any gaps with padding.Pots and Pans
You can nest smaller pans inside larger ones, with padding between each to prevent scratching. Place them inside a box and fill in any gaps to prevent shifting during transit. You can wrap glass lids in paper and pack them separately, also making sure to fill in any gaps inside the box.Dishes and Bowls
Dishes should be packed so they’re standing on edge, instead of in a vertical stack. You can do this by piling each plate on top of the other, with a piece of packing paper layered in between each. Then wrap the entire stack in paper and tape it together with packing tape. Avoid creating a stack higher than the diameter of the plate. When you’re done, place the stack on its side in a tight-fitting box and fill any gaps with paper.Bowls can be nested inside of each other, with a layer of packing paper in between them. You can stack them the same way as the dishes, but instead of packing them on their side, place stacks of bowls vertically inside a tight-fitting box, with the lips of the bowls facing down.
Glasses and Stemware
Glasses and stemware should be filled with crumbled tissue or paper before packing. Roll each one in a sheet of packing paper, or use corrugated paper for extra protection. If packing glasses and stemware with other items, pack them upside-down, with the lips facing the bottom of the box, never on their sides, and make sure they’re at the top of the box above heavier items.Knives and Utensils
If your flatware is organized inside a tray, you can simply wrap the full tray in plastic wrap and tape and move it all as one piece. Otherwise, you can pack them loosely on their sides in a small box, or wrapped in paper to prevent scratching.Knives can be wrapped in packing paper and then a dish towel, with tape or a rubber band around the bundle. Never pack knives facing up. They should be lying on their sides in a box.
Food
Perishables should be stored inside a tightly-packed cooler that remains at 40 degrees or less. Fill in any gaps with ice. Non-perishables can be transported in canvas grocery bags or boxes. Put the most delicate items, bags of chips or loaves of bread, at the top of the bag or box. Contact us if you have any questions about how to pack a kitchen, or get a free moving quote from Weleski Transfer and request professional packing services.Tags
Subscribe to Weleski Transfer Inc's Blog


Comments